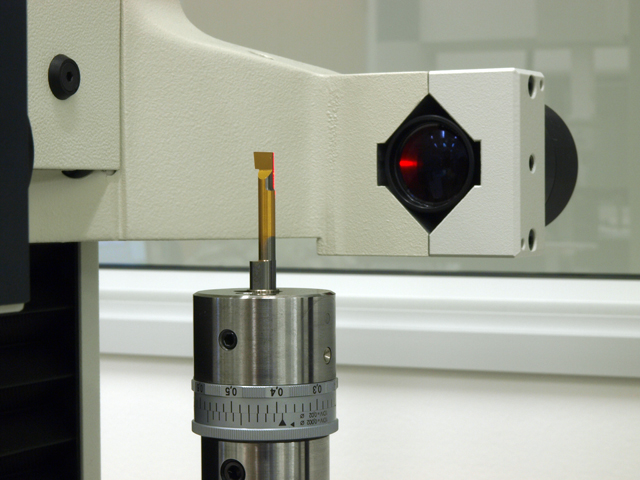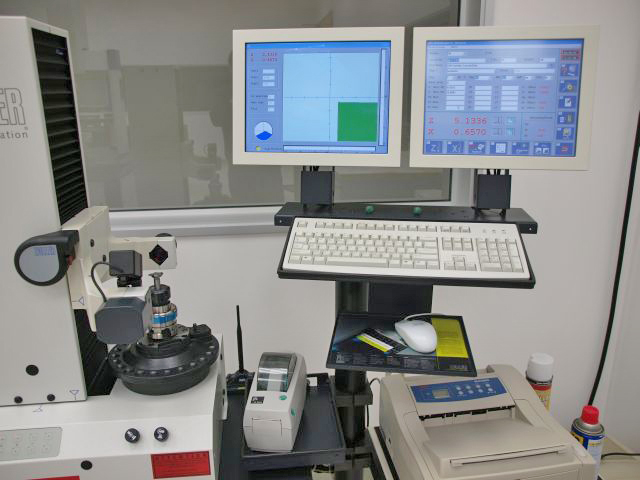
MPA”s Zoller Venturion 400 Tool Presetter helps automate and control our CNC machine tooling.
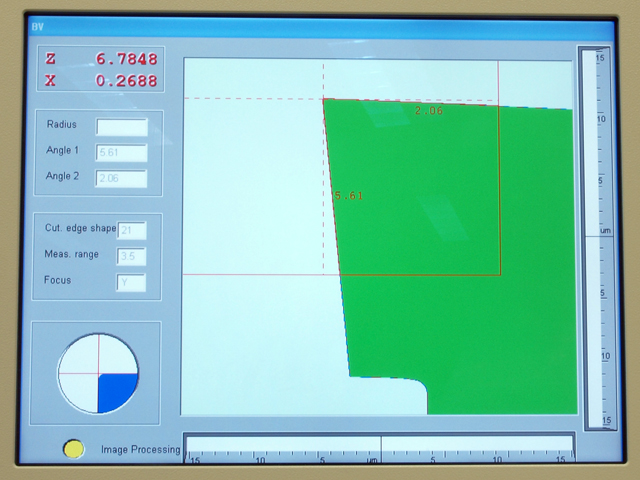
The Zoller 400 uses an innovative automated optical system to profile a tool”s geometry. Here a .250″ TiN coated boring tool is being measured.
The tool”s profile is displayed on the computer screen and its data is automatically transferred to the designated CNC machine tool in which it will be used.
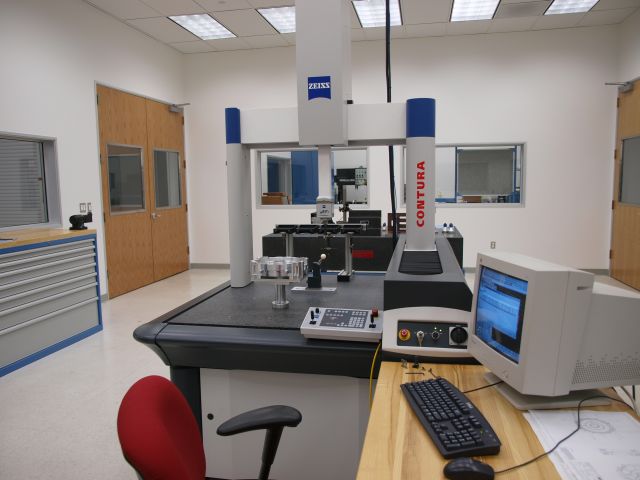
MPA”s Zeiss Contura with a VAST XT Multi-Point Scanning Head ensures that all tolerances/specifications of the part are met and documented.
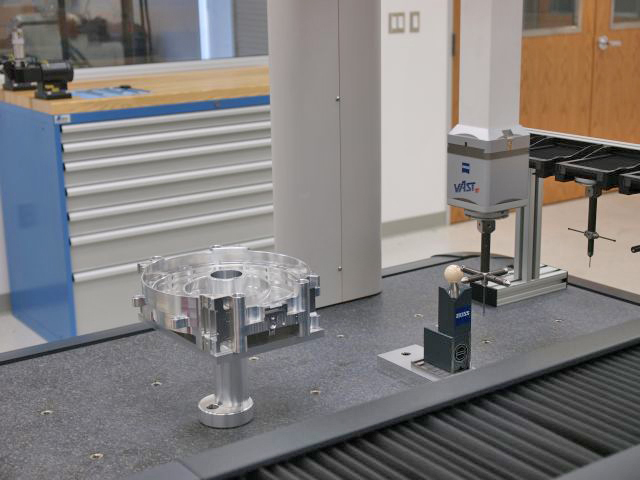
The Zeiss VAST XT Scanning Head calibrates itself prior to the inspection/measurment of a part.
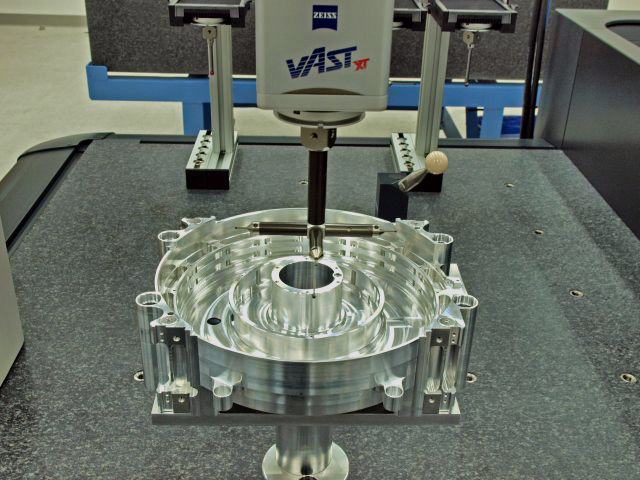
Here the Zeiss CMM is now measuring all critical aspects of the part.
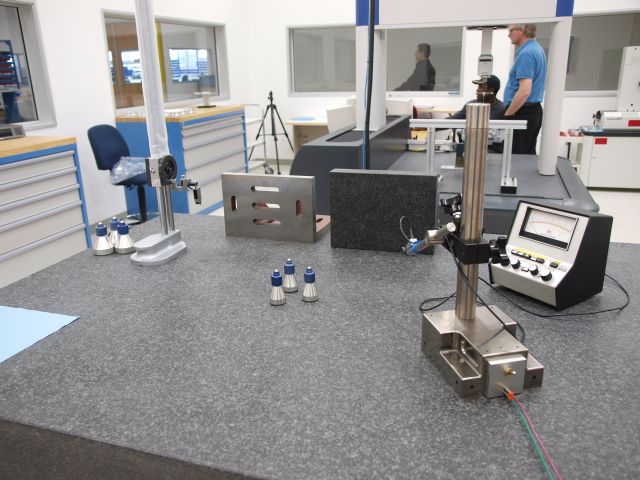
MPA manufactures air bearings and use them in our inspection process.
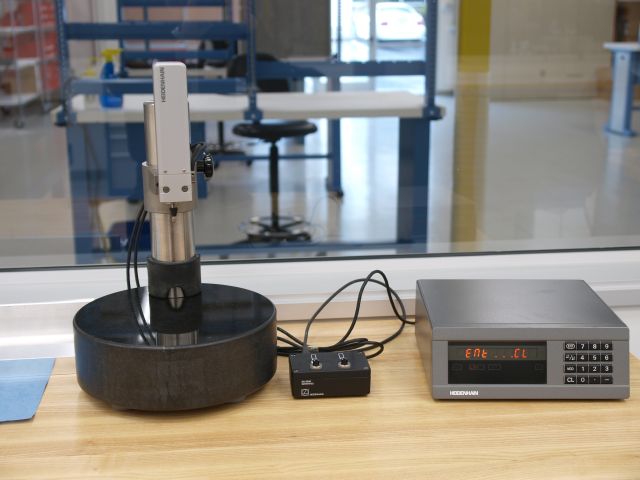
MPA also uses Heidenhain electronic gauges for precise and accurate measurements.
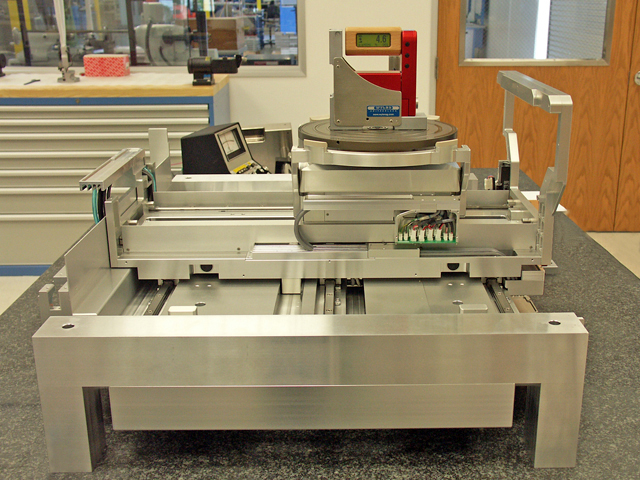
A Wyler RF Electronic Level is used to plot the trajectory of a completed X/Y/Z/Theta stage. Note the 4.6 Seconds of Arc in the display as the Stage comes back to “Home” as a trajectory test comes to completion.
